Let´s pratice the Geometrical Constructions by designing our own MANDALA and paint it in a CD.
NOW LET'S GET STARTED WITH THE CD
YOU WILL NEED...
CDs to recycle
YOUR MANDALA
A paintbrush
Relief paint or permanent markers
Glass or acrylic paint
Enthusiasm and creativity
STEP BY STEP
PEEL THE CD
There are several methods: either in boiling water or cut a piece of adhesive tape, stick it firmly onto the CD, and pull sharply. Using a cutter, carefully make a radial cut on the side of the CD with the aluminium. Do this very gently, taking care not to damage the plastic as much as possible.
COPY YOUR MANDALA TO THE CD AND ASSEMBLE THE MOBILE
ACTIVITIES EXTRA
Another page to help you with the constructions is:
Look for patterns such as triangles, squares, spirals, or combinations of regular polygons arranged in circular compositions. These will be helpful for your activity.
Important: First Create the Design on A4 Drawing Paper
Before progressing to any hands-on activity, students must first create their pintadera design on A4 drawing paper.
This step allows you to:
Plan the proportions of the geometric pattern
Decide which polygons to use
Experiment with symmetry and composition
Prepare a clean reference drawing (the sketch in your note book)
This A4 design becomes the blueprint for the optional extension activity.
5. Optional Extension Activity: Create a Pintadera Using Modeling Clay
For students who want to take the project further, there is an optional creative activity:
Make Your Pintadera with Modeling Clay
Students may:
Shape a circular clay tablet.
Transfer the geometric design from their A4 drawing.
Carve, press, or sculpt the lines and shapes.
Add textures or raised surfaces inspired by archaeological pintaderas.
This activity allows you to connect more deeply with the original purpose of pintaderas, exploring how ancient artisans might have worked with similar materials.
Learning Goals
Understand the cultural significance of pintaderas canarias.
Identify and analyze geometric patterns in historical art.
Use mathematical concepts to create an original artistic design.
Connect cultural heritage with creative expression.
Technique: Mix Media, so you can use any technique. If you want to use a water technique remember to bring an appropiate paper for it. This is the presentation that explains what you have to do with clear instructions and examples:
The AIM or idea of this activity is: Describe yourself (things that you like or dislike, your personality) visually using the technique of the collage. I know a lot of you do not have magazines at home now. You do not need them, you can use toilet paper and paint it, or just colour papers, and your own drawings and lettering.
SELF PORTRAIT USING THE TECHNIQUE OF COLLAGE
HISTORY OF THE COLLAGE 5 COLLAGE ARTISTS IN 5 MINUTES WHAT IS A COLLAGE? AND A PHOTOMONTAGE?
UNDERSTANDING COLLAGE
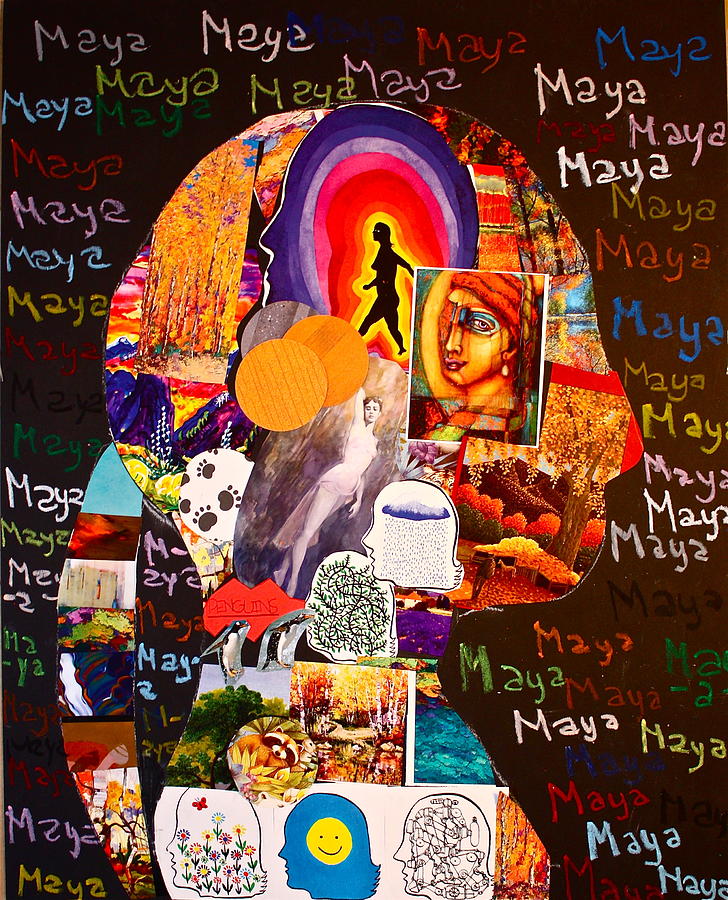
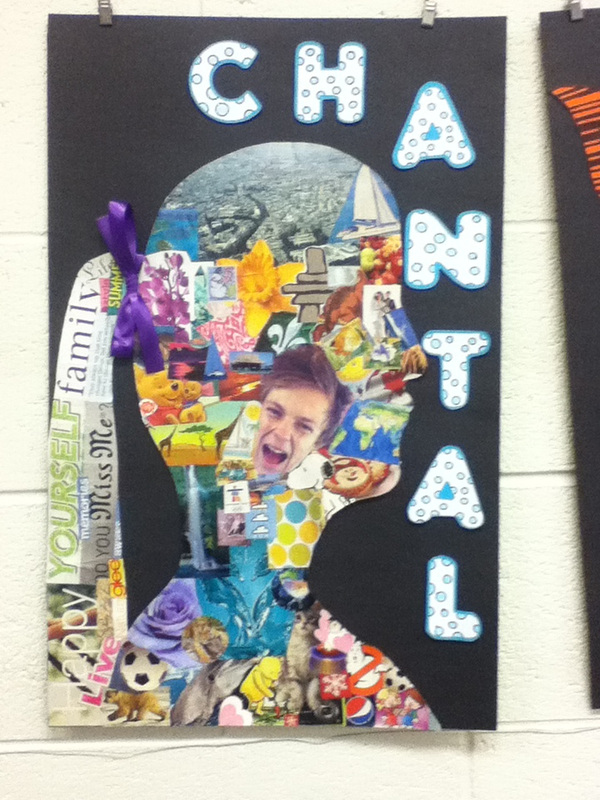
EXPLORING YOUR IDENTITY (Information and images from the blog www.plastinglish.blogspot.com) Making a self-portrait is a great way to express and explore your identity. 1st of ESO: Exploring The idea is to do the silhouettes of your head and fill in your head with a images of what is going in your brain, what you prefer, what you are fond of... You can also extend the images to the outside the silhouette. And add lettering. Ideas to get you started: clothes, music, words, sports, food, people you admire, singers, actors...
INSTRUCTIONS
1st STEP: Trace your head on two papers (using the window), one could be a normal white paper and the other a black or colour cardboard. 2nd STEP: Fill in the head shape with images in one of the papers. 3rd STEP: The second shape will be the template of the final frame of your self-portrait, so, you will have to cut out the inside part. Let's do it.
OTHER IDEAS IF YOU PREFER TO DO A
PHOTOMONTAGE:
You can also create a collage illustration or photomontage using your self-portrait picture:
The folio society. Man 10
Nena Dodic
If you are too shy to show your face,
you can modify your photo:
Meet Jack, handmade collage by Studiokoten, 2015
Students
EXAMPLE OF A SELF EVALUATION
AND DESCRIPTION OF YOUR WORK OF ART:
"Hi teacher,
This is the description of my work and my evaluation. I think I am being honest:
At the start I needed help from my mom to do the profile of my face. Then I worked on the images that best described me and my hobbies. I used the following images in the collage:
- Fire, to describe my passion in everything I do.
- A beautiful landscape, because we are part of nature, and I love it.
- A wolf pack, because the way wolfs take care of each other, shows the power and strength of the community.
- Portraits of women artists, because their lives inspire me.
I organized all those images in the shape of my profile, like you indicated. And I added the words LOVE, HEALTH AND STRENGTH in the background, because I think it is what we need right now.
I am very happy with the result. I think I have done a good job, because I followed the instructions. It also has a good presentation (clean and tidy) a good composition (distribution of the elements of the drawing in the space of the paper), and I really enjoyed doing it. I think my work does not deserve less than a 9."
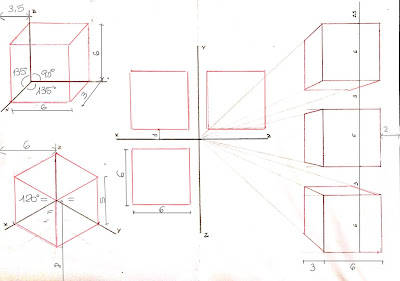
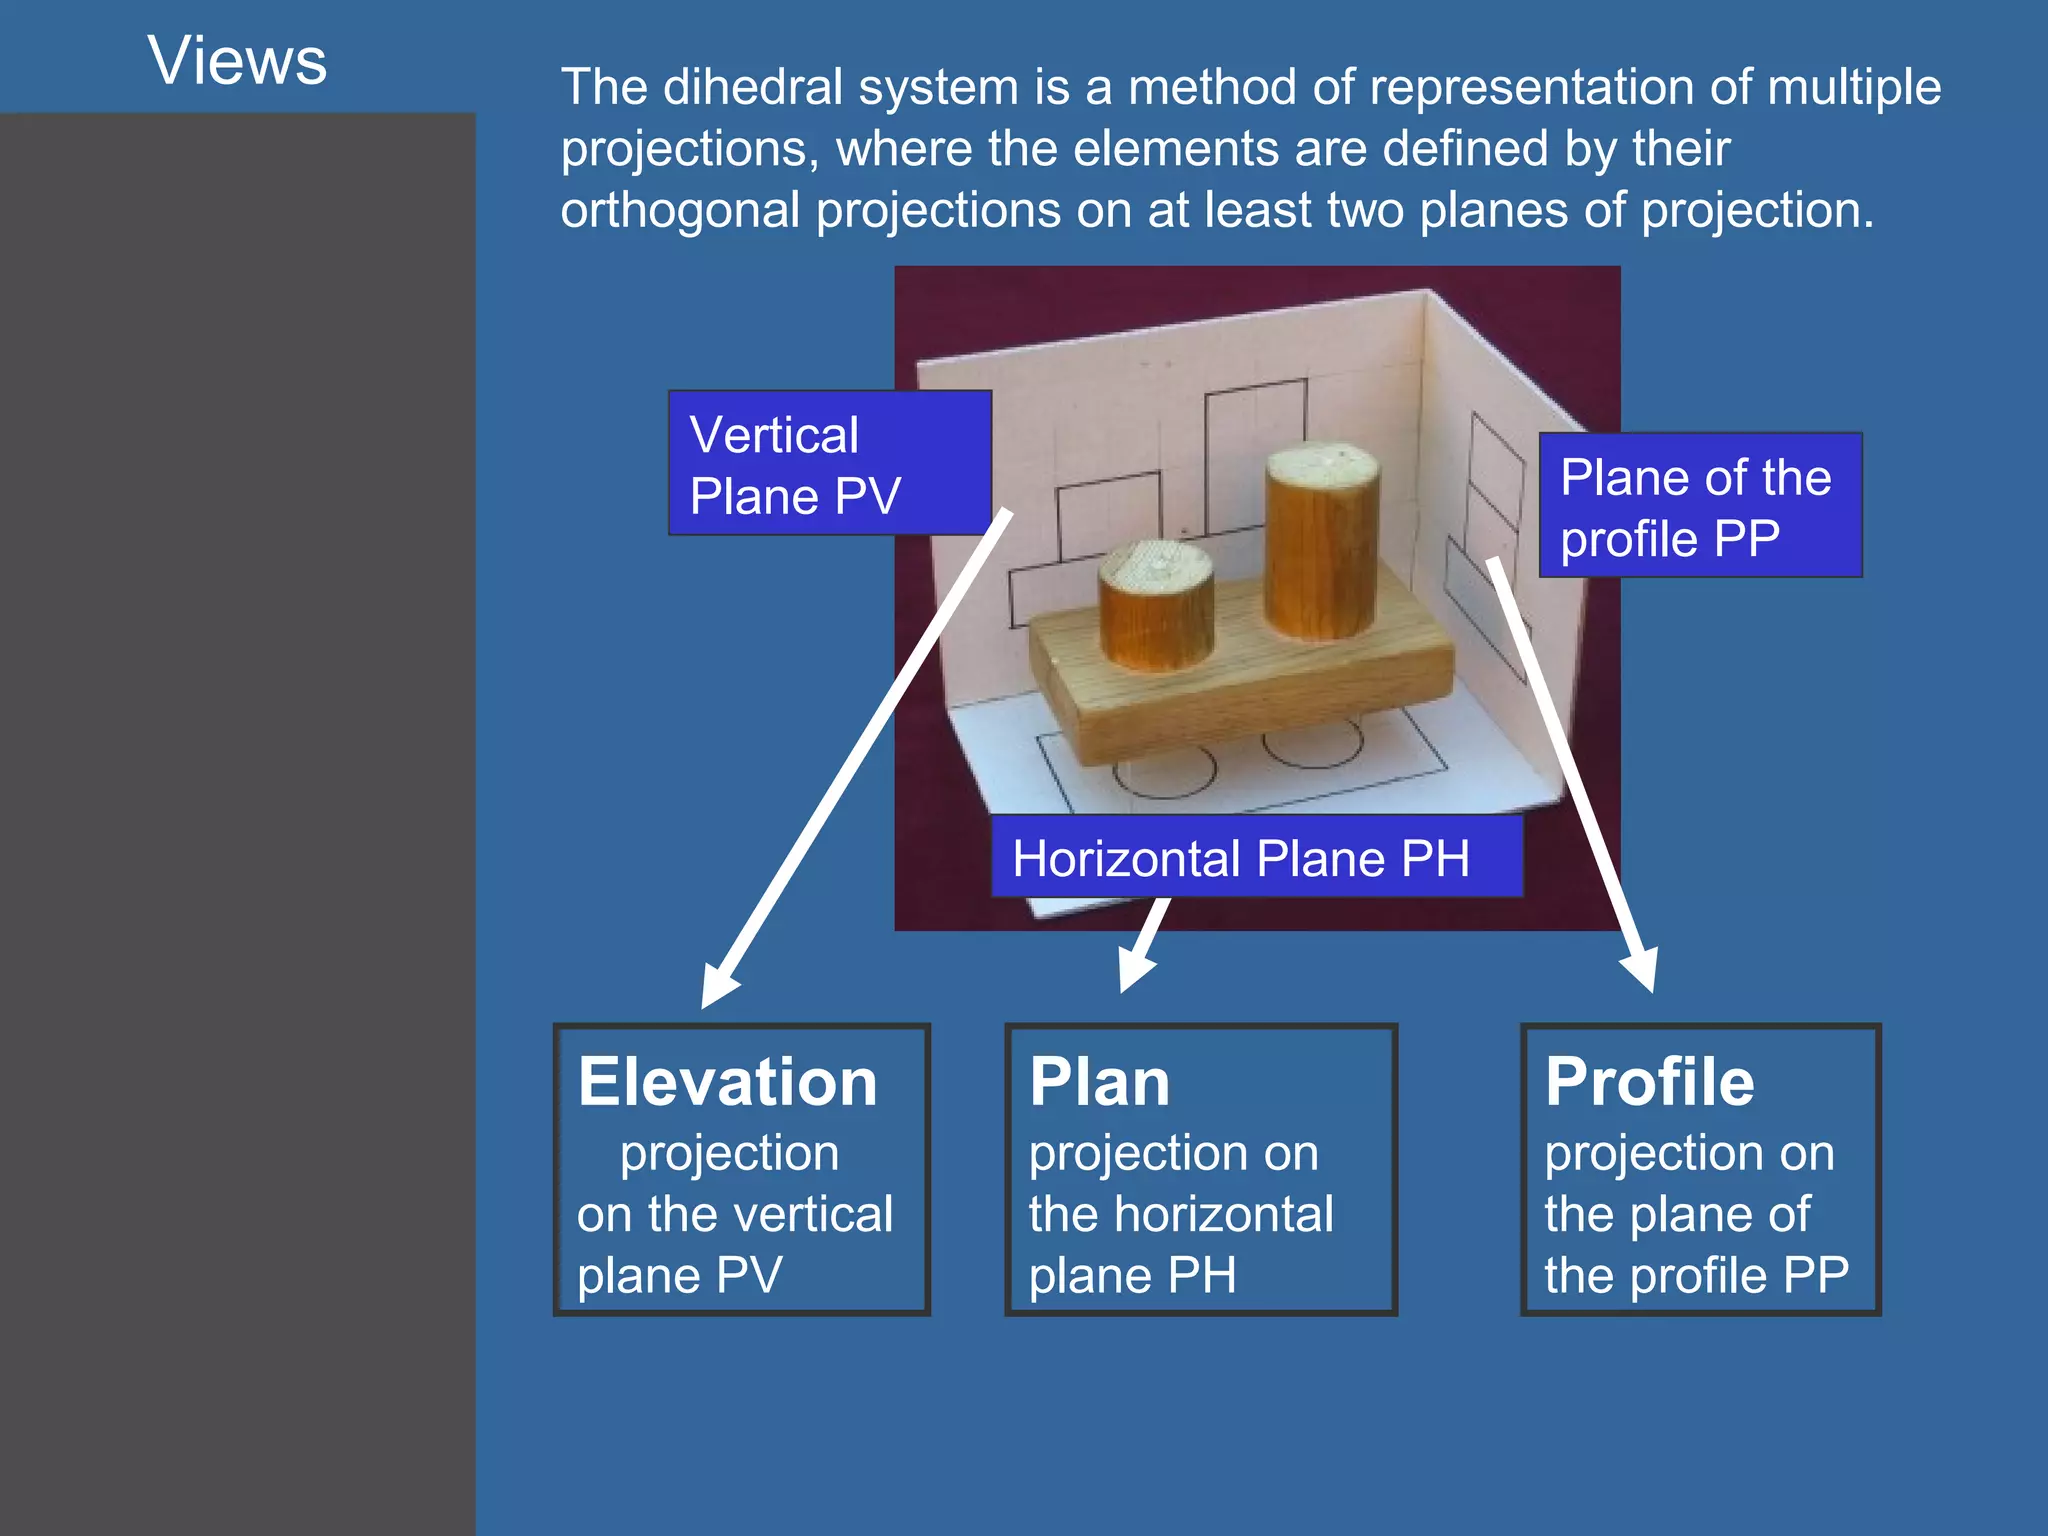
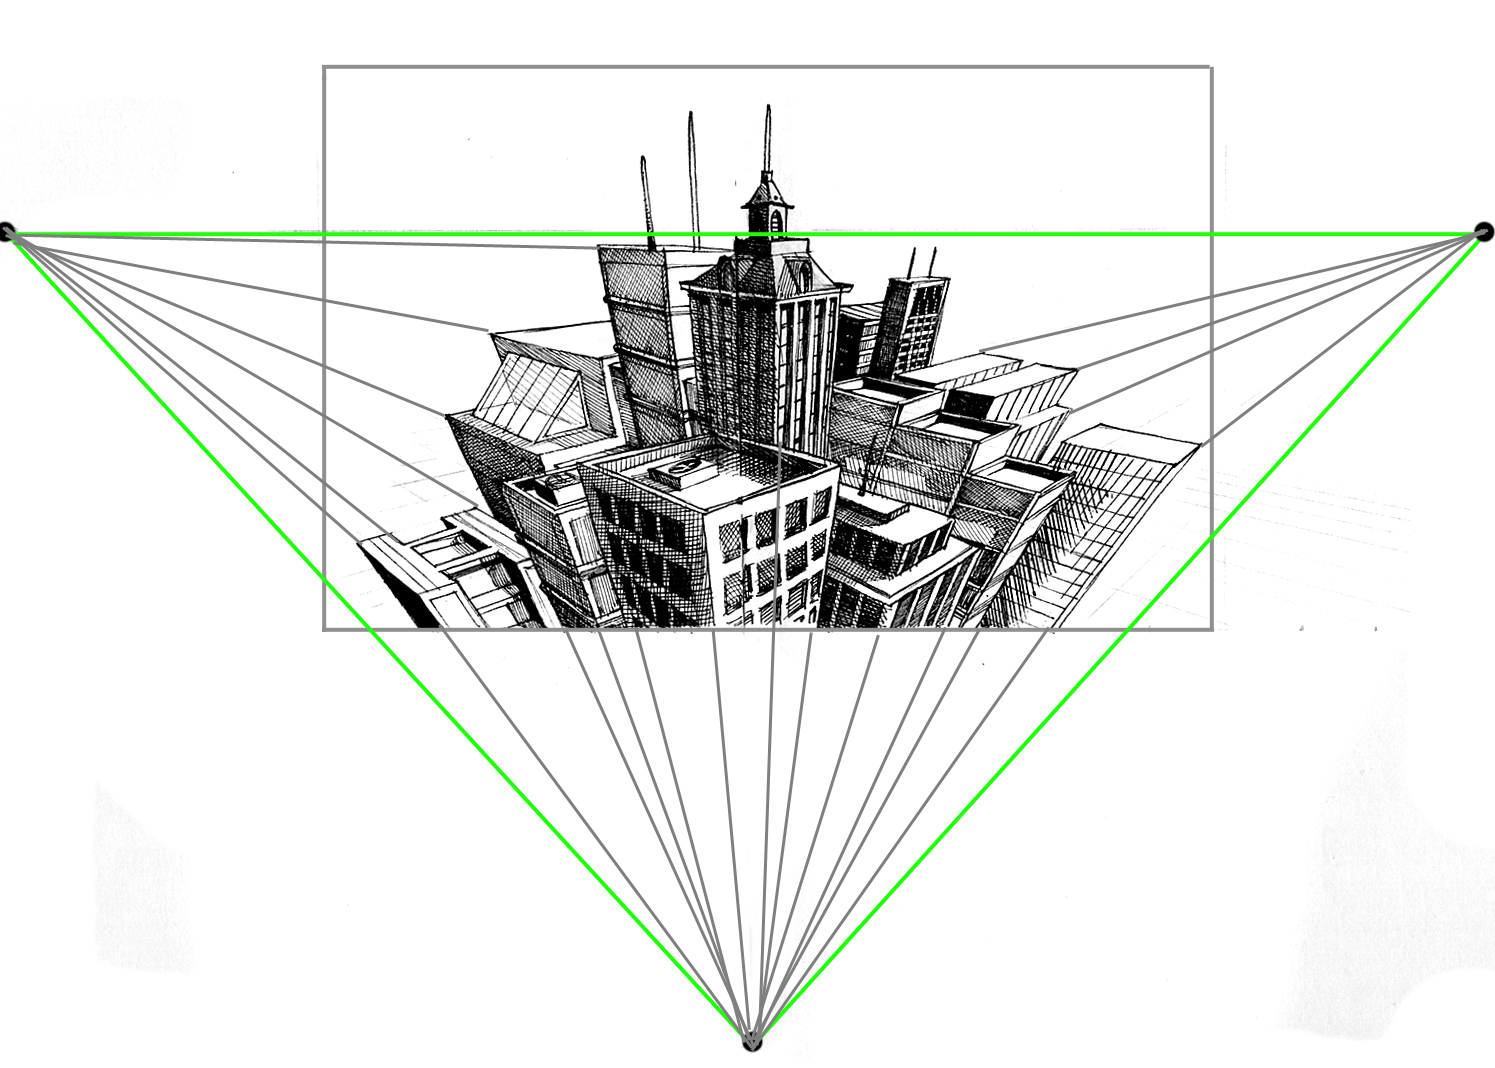
We will touch this term the different ways to represent an object in technical drawing.One of them is the DIHEDRAL SYSTEM. Lets get started with something easy, summarizing your knowledge from 1st ESO.Then we will practice with a few worksheets.